
How to Install Hair Extensions: Apply and Remove Them Step by Step
In short: Clip-in hair extensions can be fitted and removed at home by preparing a section of clean, dry hair, positioning the single piece where your natural hair can cover and support it, and fastening its clips without tension; removal simply reverses the order. Remove clip-ins every evening and before washing; the broader AAD advice about a break after two to three months does not mean leaving clip-ins attached, and treat pain, stinging, crusting or a tented feeling at the roots as a sign to change the style straight away.
- Min. hair length
- ~4 in, jaw length
- Clip-in set
- 100 g, no wire
- Clip-in removal
- Every evening and before washing
- Warning signs
- Pain, stinging, tenting
What Will You Achieve With This Guide?
Prominente Haare answers one of the most common questions people ask: how do you install hair extensions, wear them safely, and remove them again without damage to your natural hair? This guide walks through exactly how to apply and remove clip-in hair extensions step by step, the kit you need, and the mistakes that most often cause tangling or a visible join.
You will also learn how to put in hair extensions so they blend naturally, and what it takes to attach hair extensions without pulling on the hairline. The guide also explains, in plain terms, what the professional bonded and taped methods involve.
Our clip-in sets are a single 100 g piece with no wire, ready to fit as soon as they arrive.
By the end, you will know what to prepare, the exact steps to apply and remove extensions, and how to look after them afterwards.
What Do You Need Before You Start?
Check your natural hair length first. Specialist stylists usually look for at least about 4 inches of hair, roughly jaw length or long enough to sit in a hair tie, so the pieces blend well. Shorter hair may need to grow a little first, or you can start with clip-ins.
If your hair is fine, very curly or recently permed, ask a trained stylist to check the fit before you buy, because mixing textures changes how well extensions sit and blend.
Gather this before you begin:
- A fine-tooth comb or brush
- A few sectioning clips
- A mirror, or a second pair of hands for the back sections
- Your chosen method
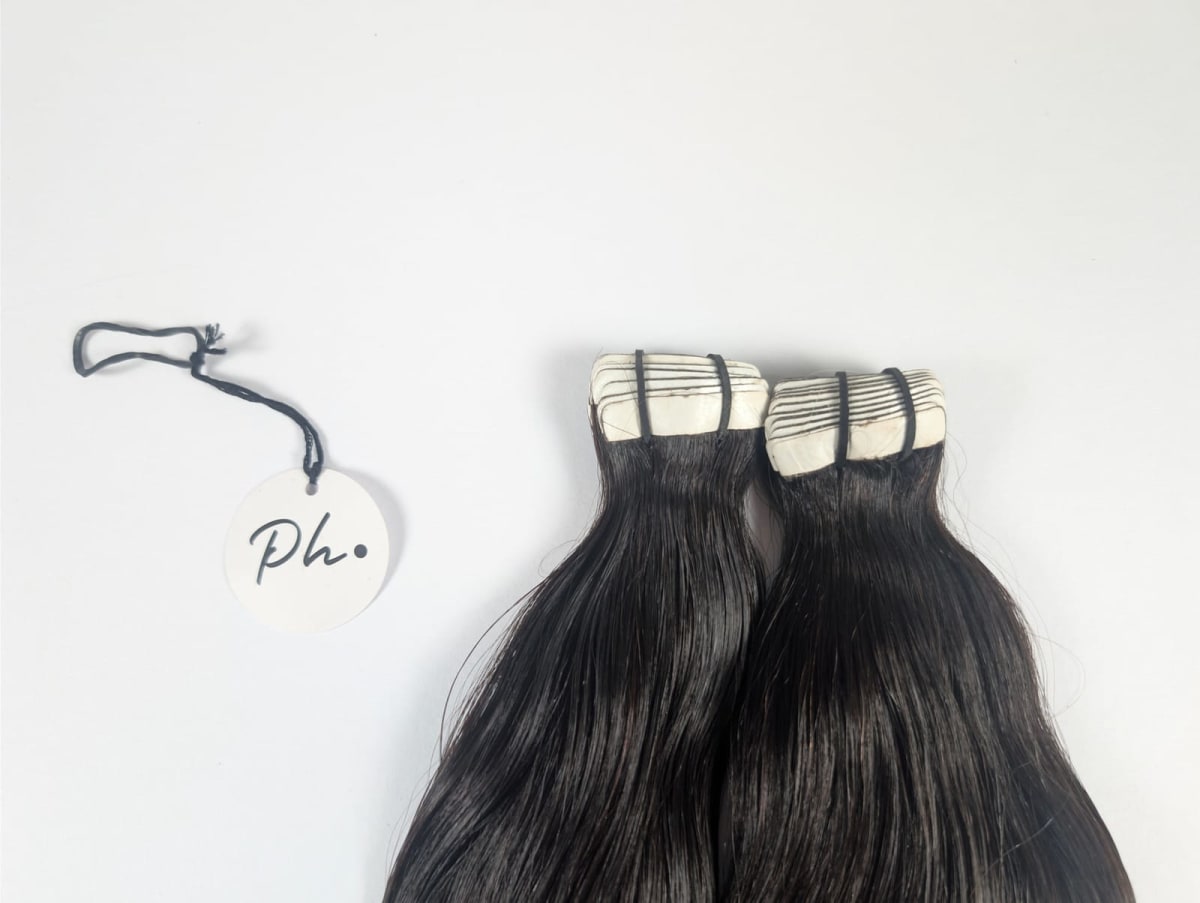
There are several ways to wear human hair extensions, and each suits a different routine. Clip-in extensions clip in and out without a wire, making them a good fit for occasional wear. Flat-tip extensions are keratin bonded to small sections of natural hair by a stylist. Tape-in extensions are secured with tape close to the root, also fitted professionally. Halo extensions sit on an adjustable wire plus clips across the head. Weft extensions are sewn or bonded into rows for a fuller result.
This guide below walks through clip-in application and removal, since it is the version most readers can do themselves at home.

How Do You Apply and Remove Hair Extensions Step by Step?
Our clip-in set is a single 100 g piece, not a kit of separate wefts and side pieces. Follow the supplied instructions; if it feels heavy or pulls, remove it and ask a qualified fitter to assess suitability.
To fit the single piece:
- Start with brushed, clean, fully dry hair.
- Make a section where the top layer can conceal the piece and the natural hair can support its weight.
- Open all clips and position the piece without stretching or pulling the scalp.
- Fasten the clips gently and check that none catches or pulls. Remove the piece if a comfortable fit is not possible.
- Blend gently from the ends upward, avoiding tension on the attachments.
To remove it, support the piece, open every clip fully and lift it away gently. Remove clip-ins every evening, before sleeping, and before washing. Do not leave them attached for months.
Clip-in extensions should always come out before you wash the natural hair underneath, followed by a gentle, moisturising shampoo and conditioner on the scalp.

What Mistakes Should You Avoid?
Most problems come from fitting extensions too tightly or wearing them for too long without a break, rather than from the extensions themselves.
Common mistakes:
- Clipping too close to the hairline, which pulls on fine edge hairs.
- Leaving clip-ins attached overnight or for prolonged periods. Remove them daily; the broader guidance about breaks from extension hairstyles is separate from daily clip-in removal. AAD
- Ignoring pain, scalp stinging, crusting or a 'tented' feeling at the roots; these are signs to change the style straight away. AAD
- Skipping a stylist check on fine, curly or recently permed hair before fitting a bonded or taped method.
- Brushing from the roots down instead of starting at the ends, which adds unnecessary tension.
Extensions do not make natural hair grow faster. Gentle handling and avoiding excessive tension remain important whether or not you wear extensions.
How Do You Care For Extensions Afterwards, And What's Next?
After applying extensions, treat the lengths gently: detangle from the ends upward, and keep heat tools away from the clips, tape or bonds.
In warmer weather, UV rays can dry hair out and shift its colour, so a hat or a UV protectant spray helps. Wetting hair with clean water before swimming can reduce how much salt or chlorine it absorbs, and a loose braid limits tangling. Rinse thoroughly with clean water afterwards, and a moisturising mask on the lengths, kept away from the bonds, is a common summer step.
If you ever notice ongoing hair loss that seems linked to your extensions, remove the source of tension and seek advice from a doctor or dermatologist; a fitter can also check the attachment.
Ready to choose your set? You can browse the shop now; current prices for every length and method are shown there at checkout.
See it in the shop.
Prominente Haare – Hair that lasts longer.
Frequently asked questions
How do you apply clip-in hair extensions at home?
For our single-piece set, section clean, dry hair, position the piece where the top layer can cover it, and fasten its clips without pulling. Ask a fitter to help if you cannot get a comfortable fit.
How long can you wear hair extensions before taking a break?
Remove clip-ins every evening and before washing. The AAD advice about taking a break after two to three months refers to alternating extension hairstyles over time, not leaving clip-ins attached continuously.
What hair length do you need before fitting extensions?
Stylists usually look for at least about 4 inches of hair, roughly jaw length, so the pieces blend well; shorter hair may need to grow first or you can start with clip-ins.
What are the warning signs that extensions are too tight?
Pain from pulling, stinging on the scalp, crusts, or a tented feeling at the roots are signs to change the style immediately, per the AAD.
Can you remove clip-in extensions yourself?
Yes. Support the single piece, open every clip fully and lift it away gently. Do not pull it through attached natural hair.
Last updated: 26 October 2026